Finding the best water for your diffuser might seem straightforward, but it can actually make or break your aromatherapy experience. I’ll admit, I didn’t pay attention to the water I used in my first diffuser. That turned out to be a mistake. The water you choose can have a big impact on your diffuser’s performance and lifespan.
There are several water choices available. Some people prefer distilled water, while others find tap water works well. The best option often depends on your local water quality and the type of diffuser you have.
In this guide, you’ll learn how to choose the best water for your diffuser and get cleaning tips that can help prevent the problems I encountered early on.
Key Takeaways:
- Use filtered water if your tap water is soft to moderately hard, you’re looking for a budget-friendly option, and you’re willing to clean it occasionally.
- Use distilled water if you deal with very hard water, notice white residue around your diffuser, or own a model that tends to build up mineral deposits.
- For most homes, filtered water combined with regular cleaning water gives great scent output without the extra cost of distilled water.
Why Water Quality Actually Matters More Than You'd Think
Your diffuser’s performance is heavily dependent on the water you choose. Use the wrong type, and you might end up with mineral build-up, weak mist output, or worse—a broken device.
Most ultrasonic diffusers rely on high-frequency vibrations to break down water and oils into those fine mist particles we love. Here’s the thing, though: minerals and other stuff in your water can gradually accumulate on that ultrasonic plate. Over time, this build-up appears to interfere with the vibrations, resulting in less mist and weaker scent throw.
When shopping for a diffuser, look for models that feature timers and auto shut-off features. These can help prevent overuse (trust me, I’ve left mine running overnight more times than I care to admit).
Quality doesn’t have to mean costly. I’ve used affordable essential oil diffusers that perform well when you pair them with the right water and oils. The key is choosing water that fits your diffuser model, local water quality, and other factors.
Water quality isn’t the only thing that matters. Following your manufacturer’s instructions and cleaning your diffuser regularly both help it last longer and deliver better aromatherapy results.

6 Practical Tips That Actually Work
1. Actually Read the Manual (I Know, I Know)
It seems obvious, but start with your diffuser’s instruction manual. Every model has its own guidelines for water, cleaning, and upkeep. Some brands say tap water is fine because its minerals boost mist. Others insist on distilled water. I learned this the hard way when I picked the wrong water and ended up with gunk inside my unit.
2. Clean More Often Than You Think You Should
Cleaning often stops oil residue and mineral build-up in its tracks. Aim to clean after every 5–6 sessions or every 2–3 days if you diffuse daily. Smaller units may need a wipe-down every 2–3 uses. Empty the tank, wipe the internal parts, and clear any deposits from the ultrasonic plate.
3. Your Water Choice Matters More Than You Realize
Ultrasonic diffusers perform best with water at a pH range of 6.5–7.5. Distilled water prevents minerals from clogging your device, but some manufacturers recommend tap or bottled water because minerals can help disperse oils.
Always check your model’s specs. What works for one diffuser might harm another.
4. Location, Location, Location
Set your diffuser on a flat, stable surface. Please keep it away from windows with direct sunlight, heaters, and other electronic devices. This protects the unit and keeps it running smoothly.
For bigger spaces, you need a larger diffuser or several smaller ones. A small diffuser in a large room won’t produce much scent.
5. Safety First (But Don’t Stress Too Much)
Keep diffusers out of reach of children and pets. Make sure power cords are in good condition and avoid leaving the unit running unattended for extended periods. Turn it off immediately if you smell something unusual or hear unusual noises, then contact the company.
Getting Your Oil-to-Water Ratios Right
Diluting essential oils correctly protects your diffuser and maintains the balance of scents. Finding the sweet spot for oil dilution can feel like trial and error, and it often depends on both your space and the scent strength of the oil itself.
Here’s a rough guideline that may help:
- For small rooms (approximately 100 sq ft), start with about 3–5 drops of oil per 100 ml of water.
- For medium rooms (approximately 200–300 sq ft), you can achieve good results with 5–8 drops per 200 ml.
- In a larger open area (400 sq ft and up), try 8–12 drops per 300–500 ml—although you may find that you need even more if the room has high ceilings or heavy fabrics.
Use fewer drops with strong oils, such as peppermint or cinnamon. Mild oils may need extra drops to spread their scent throughout the room. Too much oil can clog your diffuser, leaving an overpowering scent.
Read Also: 5 Best Waterless Essential Oil Diffusers
Water Types For Your Diffuser: The Good, The Bad, and The "It Depends"
Choosing your water can make a significant difference; it affects how evenly your diffuser sprays and how often you need to clean it. Distilled water usually seems the safest bet: no minerals, no surprises, and minimal scale buildup.
Some diffuser brands now recommend tap or bottled water because the natural minerals help essential oils cling to water droplets. That may boost scent spread, which matters most in larger rooms.
If you can’t get distilled water, purified or filtered water is your best second option. These options strip out most impurities while retaining a few beneficial minerals. The key is knowing your local water quality and matching it to your diffuser’s needs.
Water quality changes a lot depending on where you live. In areas with hard water and high mineral levels, distilled water helps prevent the white dust that accumulates around your diffuser. But if your tap water is soft, filtered tap water may work just fine.

Distilled Water: The Safe Choice
Distilled water undergoes a process that removes nearly all minerals, chemicals, and impurities. You get the cleanest water possible, which stops mineral deposits and ensures you inhale only pure essential oil particles.
The downside is cost and convenience. Distilled water costs more than tap water, which means making an extra trip to the store. Some brands warn that without minerals, mist output may drop slightly compared to water that still contains natural minerals.
Filtered Water: The Middle Ground
Filtered water cuts out chlorine, sediment, and many contaminants while keeping beneficial minerals. For most diffusers, this is a solid compromise. Your results depend on the quality of your filter; however, typical home systems typically provide water that works well.
If you already use a home filter, this choice saves money compared to buying distilled water all the time. It also keeps harmful particles out of your diffuser.
Tap Water: Proceed with Caution
Some tests suggest that tap water can enhance diffusion in some ultrasonic models, as minerals help oils spread more effectively. Results will depend on your local water quality.
If the water in your local area is soft and well-treated, you might see great scent output. In areas with hard water, consider using bottled water instead of tap water.
Keep an eye out for white dust around your unit or mineral build-up inside. Those signs indicate that your tap water contains excessive minerals, which can hinder optimal performance.
Factors To Consider When Choosing The Best Water For Your Diffuser
Water choice goes beyond just how pure it is, though that matters too. You’ll want to think about what you’re actually using the diffuser for, the size of your space, whether you like strong or subtle scents, how much cleaning you’re willing to do, and what fits your budget.

For Aromatherapy Purposes
If you’re serious about therapeutic aromatherapy, distilled or purified water is the safest option. You’re only breathing in the essential oil compounds without any extra particles floating around.
That said, I’ve noticed something interesting when diffusing in larger rooms or spaces with vaulted ceilings: those natural minerals in filtered tap water may actually help the scent reach farther corners. It’s counterintuitive, but it appears to work.
Room Coverage Considerations
Bigger spaces present their own challenges. They benefit when the mist spreads more effectively, and the natural minerals in water can help essential oils to disperse more efficiently. This might explain why tap or filtered water often works well in spacious living rooms or open floor plans.
Small spaces are different. A tiny bedroom or compact office? The purity of distilled water becomes more valuable since scent builds up quickly in confined areas, sometimes too quickly if you’re not careful.
Scent Intensity Preferences
How you like your fragrances counts too. If you want light, gentle scents, distilled water lets you control oil amounts precisely without minerals getting in the way. People who enjoy stronger aromas may find that mineral-rich water enhances the spread of oil and creates a more noticeable scent.
Think about your cleaning habits and budget, too. Distilled water requires less frequent cleaning but is more expensive over time. Tap water may create mineral build-up faster, requiring weekly deep cleaning, but it saves money on water costs.
Water Chemistry: pH and Hardness
Recent studies have shown that ultrasonic diffusers work best when the water’s pH level is between 6.5 and 7.5. Water with a pH level that is either higher or lower than normal can reduce mist quality and may cause wear on certain parts of the diffuser.
If your tap water doesn’t fall in this range, use filtered or distilled water. You can check your water’s pH with affordable test strips available at most hardware or pool stores.
Regional Considerations
Adjust your approach based on your local water:
- Hard Water: Stick with distilled or well-filtered water to avoid white dust and keep minerals from collecting inside your diffuser.
- Soft Water: Filtered tap water often works well, letting you save money while still protecting your diffuser.
- Water High in Chlorine: Any filter that removes chlorine is a smart choice. It improves the diffuser’s results and limits your exposure to chemicals.
- Well Water: Test your well water for both mineral content and pH. Depending on what you find, you may need to switch to distilled water.
Preparing The Water For Your Diffuser The Right Way
Getting your water prep right goes beyond just grabbing whatever’s handy. How you handle it, from temperature to storage, can quietly make or break both your aromatherapy session and how long your diffuser actually lasts.
Your manufacturer’s guidelines are probably worth following, even when you stumble across conflicting advice online. Those recommendations aren’t arbitrary; they’re usually based on testing specific to your model. Straying too far might void your warranty, which is frustrating to discover after something goes wrong.

A small measuring cup or funnel makes filling less messy than you’d expect. It’s one of those tiny details that prevents water from ending up in vents or around buttons where it definitely shouldn’t be.
Water Temperature Actually Matters
Temperature matters more than you might think. Room temperature or slightly warm water produces better mist than cold water straight from the tap. Hot water is usually a no-go unless your manual specifically says otherwise; it can warp plastic parts or confuse electronic sensors.
Getting Your Water and Essential Oil Ratios Right
Getting ratios right takes some trial and error. Most diffusers work well with 3-8 drops per 100ml of water, although room size and personal preference may adjust that number slightly. Starting with fewer drops is wise. You can always add more, but you can’t really take them back out.
Respect the Fill Line
That fill line isn’t just a suggestion. Going over it increases the chance of water sneaking into ventilation areas or electronics. When I’m unsure, I fill slightly below the max — the difference in mist output is barely noticeable, but it may help avoid repair headaches later.
Clean Your Diffuser When Changing Essential Oil
Clean between oil changes, even if it feels unnecessary. Switching from eucalyptus to lavender without a quick rinse can create unexpected and unusual scent combinations. Not always unpleasant, but rarely what you’re going for.
Add water first, then oils. This helps the oils disperse more evenly and likely reduces the risk of concentrated oils damaging the ultrasonic plate over time. It’s a small step that might extend your diffuser’s life.
Storage and Quality Maintenance
Store your distilled or filtered water in clean, covered containers; glass jars work well, although BPA-free plastic is fine too. Once opened, distilled water is best used within a few weeks. I keep mine in a cool, dark spot, mainly because direct sunlight can encourage bacterial growth.
Seasonal changes in water quality are often overlooked. Some regions experience higher mineral content during dry months, which may mean temporarily switching to distilled water to prevent excessive build-up. It’s one of those regional quirks that becomes obvious only after you’ve dealt with the consequences.
Maintaining And Cleaning Tips For Your Diffuser And Water Reservoir
Regular cleaning keeps your diffuser working optimally and prevents build-up that can harm performance or compromise air quality. Instead of doing harsh deep cleans occasionally, it’s better to clean gently and frequently.

Essential Maintenance Schedule
After each use: empty out any leftover water and give the reservoir a quick wipe with a damp cloth—this simple step may help prevent lingering oils from turning sticky.
Weekly: especially if you’ve been running your diffuser daily, a mild white vinegar soak (about a 1:1 mix) for 10 minutes or so appears to dissolve most oil films and light mineral build-up.
Monthly: If you only diffuse occasionally, switch to rubbing alcohol for a few swipes around the ultrasonic plate with a cotton swab. This can address any stubborn spots without being overly harsh.
Seasonally (optional), consider fully disassembling and inspecting parts (o-rings, seals, mist outlets) for cracks, discoloration, or loose connections. It may feel like extra work, but catching wear early is likely to save you an unexpected replacement later.
Step-by-Step Cleaning Process
1. Safety First: Pull the plug and wait for your diffuser to cool down before you start. Remove any removable pieces and dump out leftover water.
2. Basic Cleaning: Mix equal amounts of white vinegar and water for regular cleaning. Fill the tank halfway with this mix and let it sit for 10 to 15 minutes. This dissolves oil gunk and mineral spots.
3. Ultrasonic Plate Care: Dip a cotton swab in rubbing alcohol and gently clean the ultrasonic plate. Don’t scrub too hard, as this part is responsible for creating the mist, and it can break easily.
4. Deep Clean the Reservoir: For tough build-up, especially if you have hard water, let the vinegar solution sit for 20-30 minutes. Add a few drops of dish soap to help cut through oily residue.
5. Thorough Rinsing: Rinse everything thoroughly with clean water after cleaning to remove any residual vinegar taste or smell. Let all parts dry completely in the air before reassembling them.
Advanced Cleaning for Stubborn Mineral Build-up
Hard water leaves white, chalky marks that need special treatment:
1. Citric Acid Treatment: Mix one teaspoon of citric acid powder with warm water for tough mineral spots. This natural acid cuts through lime build-up better than vinegar does.
2. Rubbing Alcohol Detail Clean: Apply 70% isopropyl alcohol to a cotton swab to clean around seals, tight spots, and the mist opening where oils tend to collect.
3. Preventive Maintenance: Run a cleaning cycle once a month with just water and no oils. This flushes out leftover build-up and keeps everything working well.
Warning Signs Your Diffuser Needs Attention
Look out for these signs that mean you need to clean more often or change your water type:
- Less mist coming out or weak smells.
- White dust is collecting around the diffuser.
- Strange noises while it runs
- Water drops are forming on nearby surfaces.
- Visible crud on the ultrasonic plate or tank walls
The Bottom Line: Keep It Simple
Choosing the right water for your essential oil diffuser isn’t as straightforward as grabbing any available water, and it can affect both the quality of the mist and the longevity of the diffuser.
The answer is usually determined by three factors:
- The quality of water in your local area.
- The recommended type of water based on the specifications of your diffuser.
- The level of effort (or additional cost) you’re willing to tolerate.
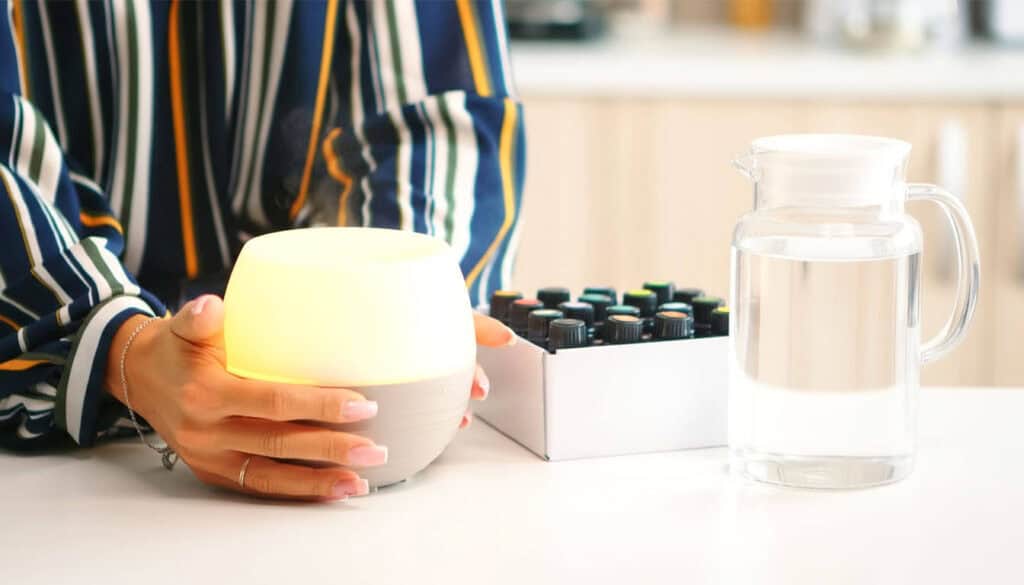
Distilled or Filtered water hits the sweet spot. It strips out impurities but keeps minerals that help essential oils to disperse. It also costs less than buying distilled water all the time.
If you have hard water or see white dust around your diffuser, try distilled water. It protects your unit and keeps the air cleaner. The extra expense often saves you time on cleaning and extends the life of your diffuser.
If you have soft, clean tap water, and your diffuser’s manual says it’s fine, give it a shot. Just watch for any performance dips and clean more often if needed.
What really matters is maintenance. A well-maintained diffuser using filtered water will work more effectively than a neglected one running on distilled water. Clean it regularly, stick to the correct oil-to-water ratio, and follow the manufacturer’s instructions.
New water-based diffuser technology keeps coming out, but the basics stay the same: good water, correct dilution, and regular cleaning. Master those, and your diffuser will serve you well for years to come.


